AnimStack 0.4 added a very handy way to create a moving viewpoint effect. It is controlled through the sampler tag, and the setup is surprisingly simple.

Start with a fairly large image. For this example, a wide historical group photo works well because it gives you multiple areas to move across.
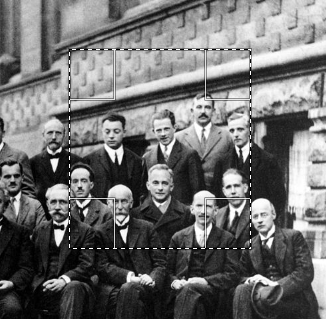
Use the rectangular selection tool to pick the first area you want to show.
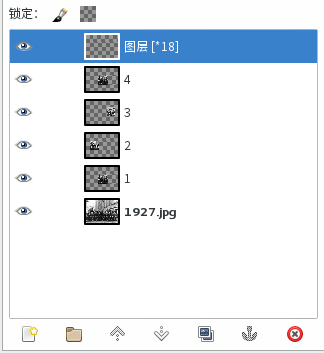
Press Ctrl + C, then Ctrl + V. A floating layer will appear in the layer panel on the right. Click the new layer button at the bottom of the layer toolbar so the pasted selection becomes a normal layer.
Pick two more areas and repeat the same copy-and-paste process. After that, duplicate the layer for the starting position and place the copy at the top, since the animation needs to return to its original view at the end.

Create a new transparent layer sized 240x240 and place it at the very top. Add [*18] to that layer.
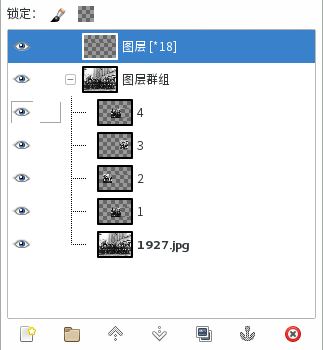
Lock every layer except the 240x240 one, then use Layer - Group - Pack... to put them into a layer group.
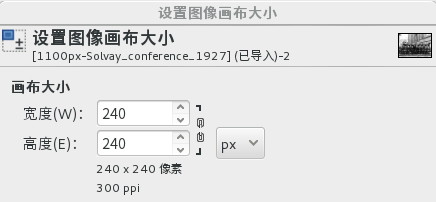
With everything arranged like that, open Image - Canvas Size and set the canvas to 240x240.
Now add [sampler] [-delay:50:500] after the layer group name.
The two values in delay control timing: the first sets the duration of the in-between transition frames to 50, and the second sets the selected endpoints to 500.
Export the GIF at this stage, and the result will look like this:
It can be improved further by blurring the in-between motion.
The full tag becomes [sampler] [-delay:50:500] [-sb]
Here, sb stands for "sampler blur".
Changing the 500ms endpoint pause to 1000ms and adding the sb tag gives a smoother final result:
This kind of effect also works nicely as a simple visual navigation element for a website.