I first came across Pi-hole back when I was setting up dnsmasq, and it immediately seemed useful. Since I had some free time at home over the holiday, I decided to put it on a Raspberry Pi and try it properly.
The whole process was far more dramatic than expected. I ran into one problem after another and came close to giving up more than once. It really felt like the software was unusually picky about its environment. Still, after repeated testing and a lot of trial and error, I finally got it working. The web interface was in English, which felt awkward to me, so I also localized it afterward.
Prepare the system first
If you are installing it on a Raspberry Pi, update the system first. And if the system is already supposedly up to date but has been used for other things, reinstalling from scratch may actually save time.
The most important point is this: the system needs to be clean. Completely clean. That matters more than anything else. A fresh installation greatly improves the chance of success; otherwise, you may spend all your time patching one issue after another.
It is also best to avoid any prior system modifications. For example, if you previously changed the package sources, switch back to the official ones before installing. That caused trouble during my first attempt: after reinstalling the OS, I immediately replaced the sources, and the system ended up receiving too few package updates, which later broke the installation process.
A static IP address is strongly recommended.
For DNS, using 8.8.8.8 is a safe choice before installation. After Pi-hole is installed, DNS will be configured as 127.0.0.1.
Start with a full system upgrade
Once you have confirmed that the system is clean, update it first. Pi-hole has quite a few dependencies, and if even one required update fails, the installation can fail too.
apt-get upgrade
After the upgrade finishes, start the Pi-hole installation directly:
curl -sSL https://install.pi-hole.net | bash
Wait about a minute and the installer interface should appear.
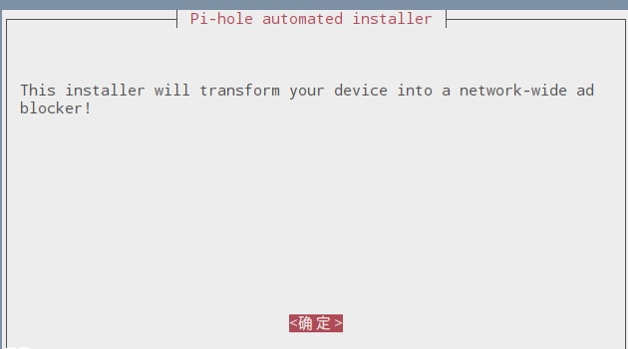
Installation choices
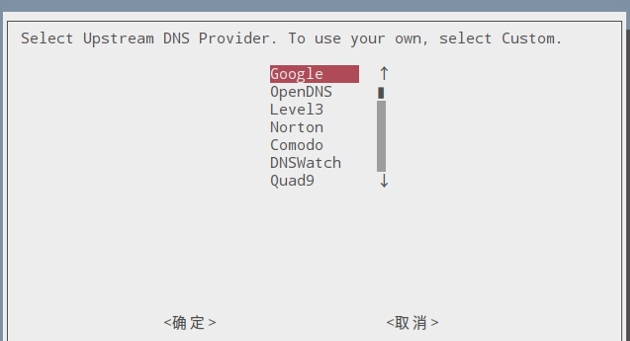
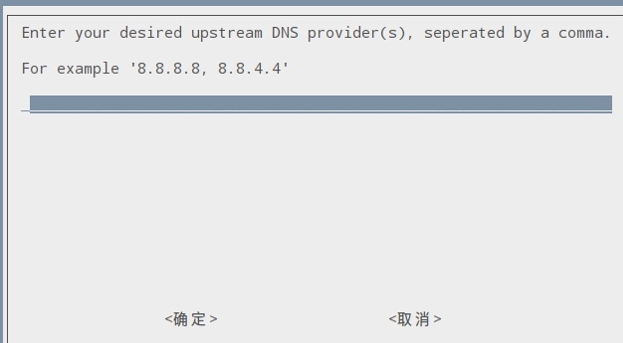
During setup, you will be asked to choose an upstream DNS provider. Google DNS is a recommended option, or you can choose a custom one such as 114DNS.
After that, the installer will confirm several settings, such as the device IP address and whether to enable the web admin interface. In general, the default choices are fine, so you can proceed with those and continue.
Once everything is confirmed, the actual installation begins.
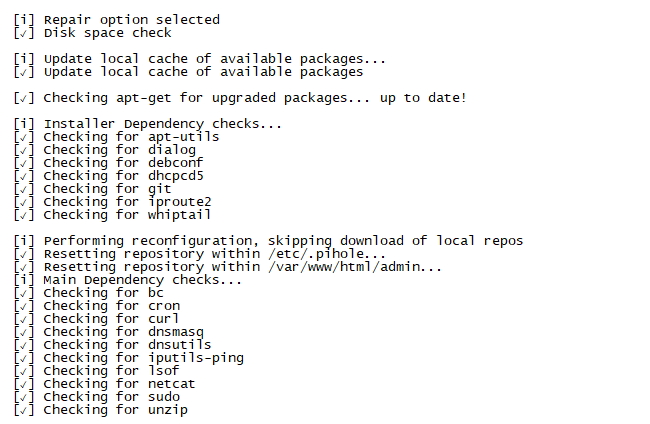
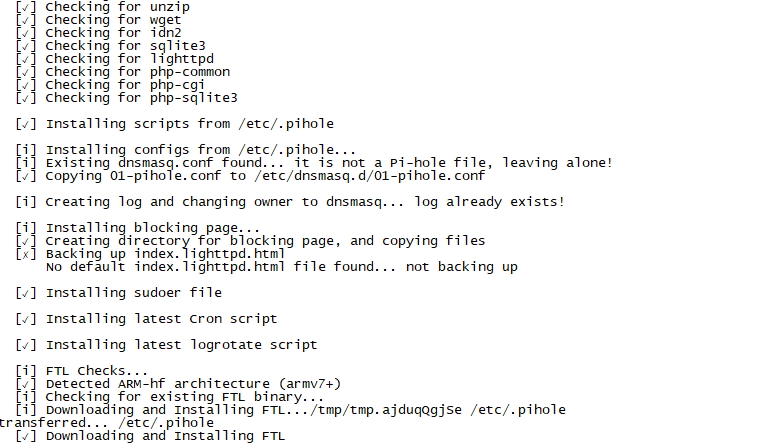
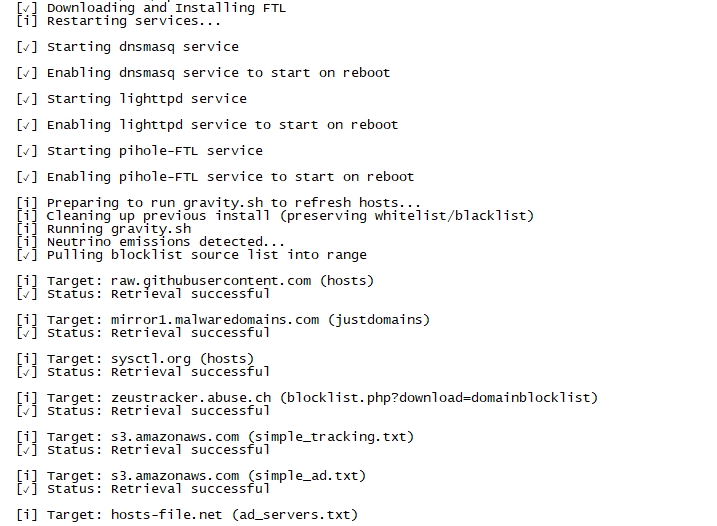

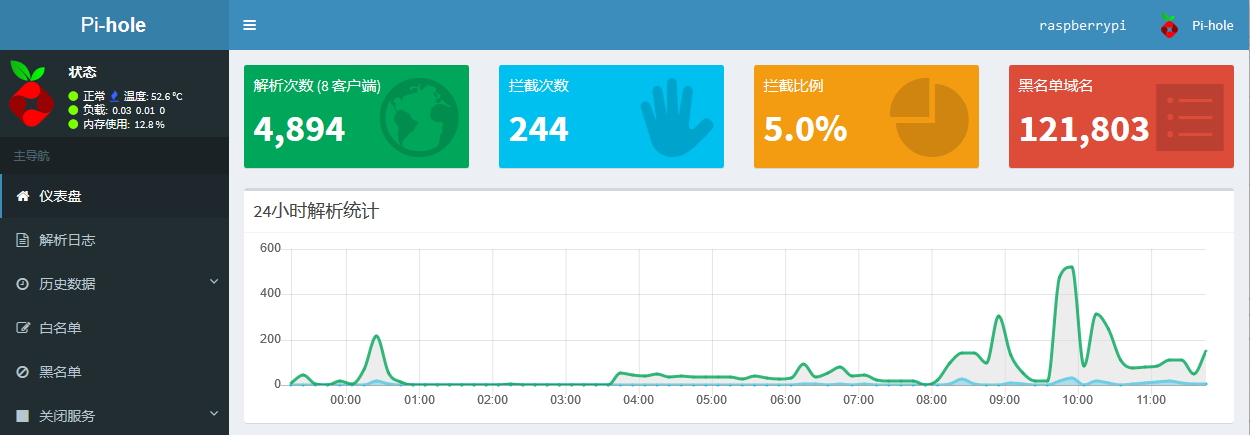
How to tell whether it actually worked
The final success screen is important. You need to see that completion page.
If the command simply ends and drops you back to the shell without showing the proper installation-complete screen, then the installation did not succeed.
In that case, you can reinstall or repair it with:
pihole -r
There were quite a few pitfalls along the way, but the main lesson was clear: if the environment is not clean enough, Pi-hole installation can become much harder than it looks.