⚠️ Warning
This migration is not a beginner-friendly operation. It involves exporting analytics data, processing CSV files, and importing records directly into a PostgreSQL database. If you are not comfortable working with databases or fixing possible data issues, do not try this casually. If something goes wrong, you are responsible for the consequences.
A quick look at Umami
Umami is a modern, open-source web analytics tool built around a clean interface and privacy-friendly tracking. In practice, it can be seen as a lighter and more privacy-conscious alternative to Google Analytics.
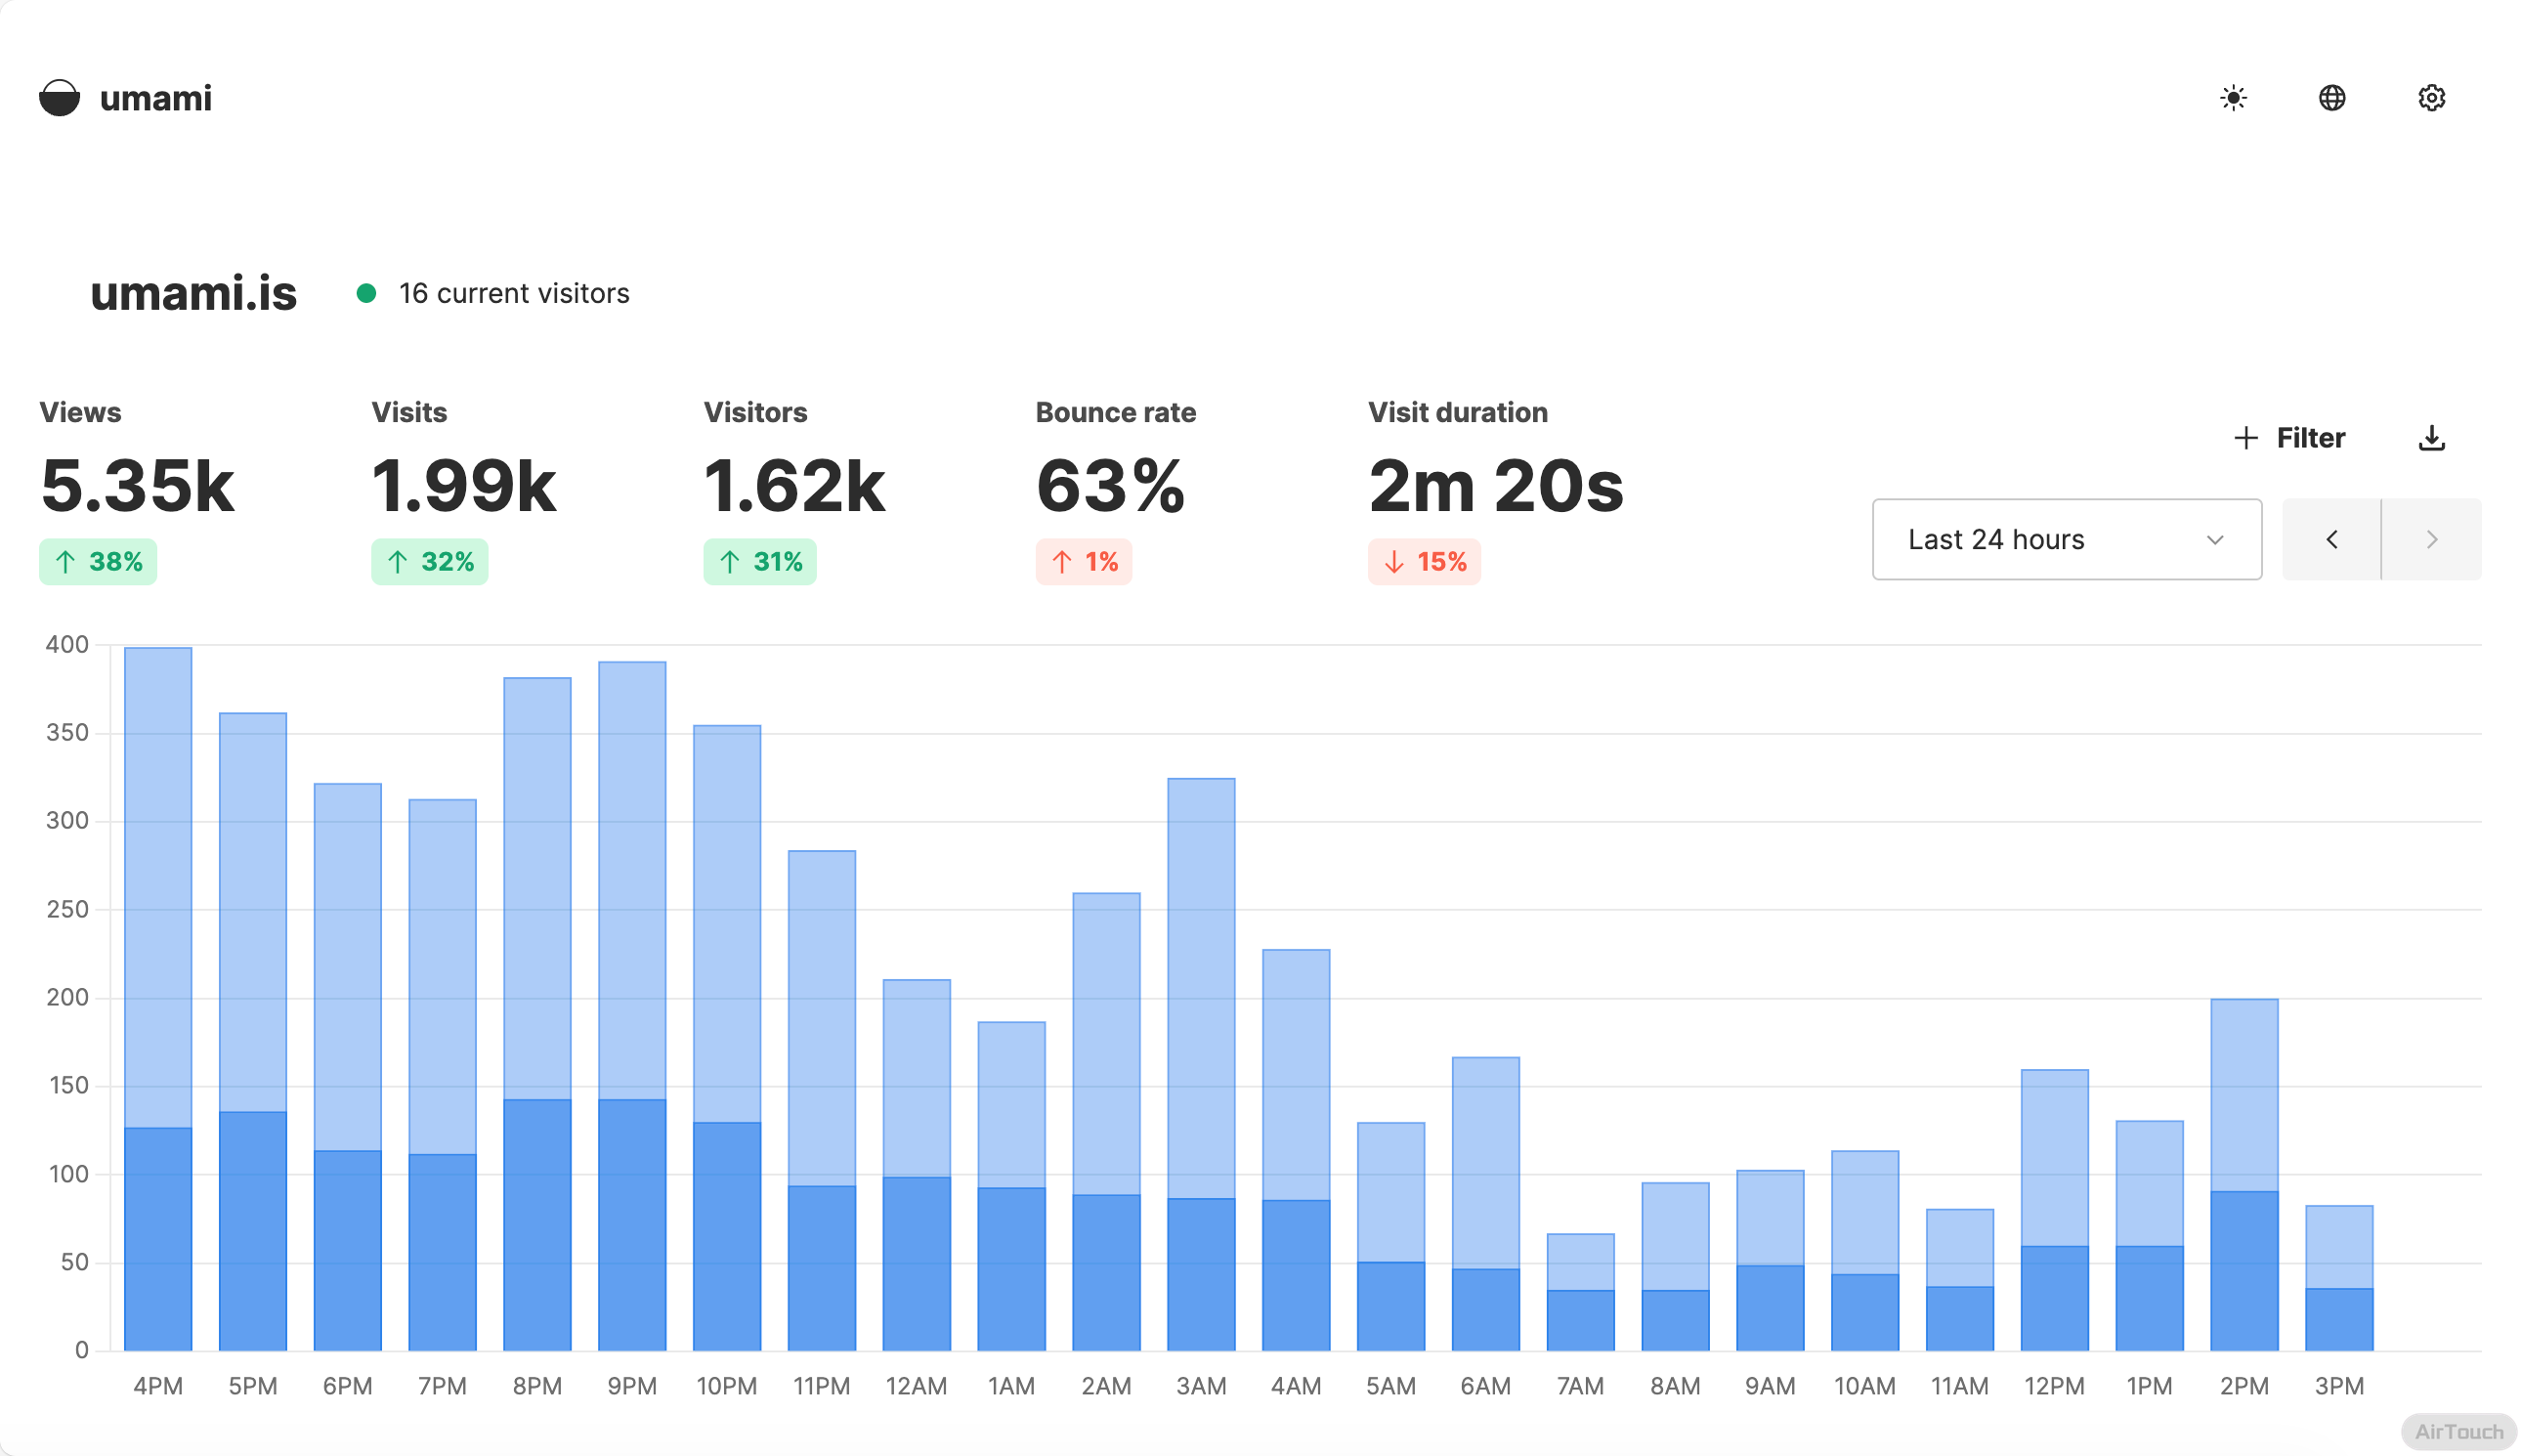
It focuses on the metrics most site owners actually care about: visits, page views, traffic sources, device information, and similar core data. The dashboard presents these numbers with straightforward charts, without burying you under overly complicated reports or unnecessary panels.
Another important reason people choose Umami is that it can be self-hosted. When you run it yourself, your analytics data stays under your control instead of being handed over to a third-party platform. Umami is also designed with privacy regulations such as GDPR in mind: it does not identify individual users and does not rely on cookies. For personal site owners, developers, and teams who care about data ownership and simplicity, it is a very practical option.
Why migrate away from Umami Cloud
Umami Cloud is convenient, but the free plan has two limitations that can become a problem quickly:
- Data is retained for only 1 year
- You can add only 3 websites
For a long-running website, one year of analytics history is far from enough. If you want to keep several years of traffic records, self-hosting Umami becomes a much better choice.
Exporting data from Umami Cloud
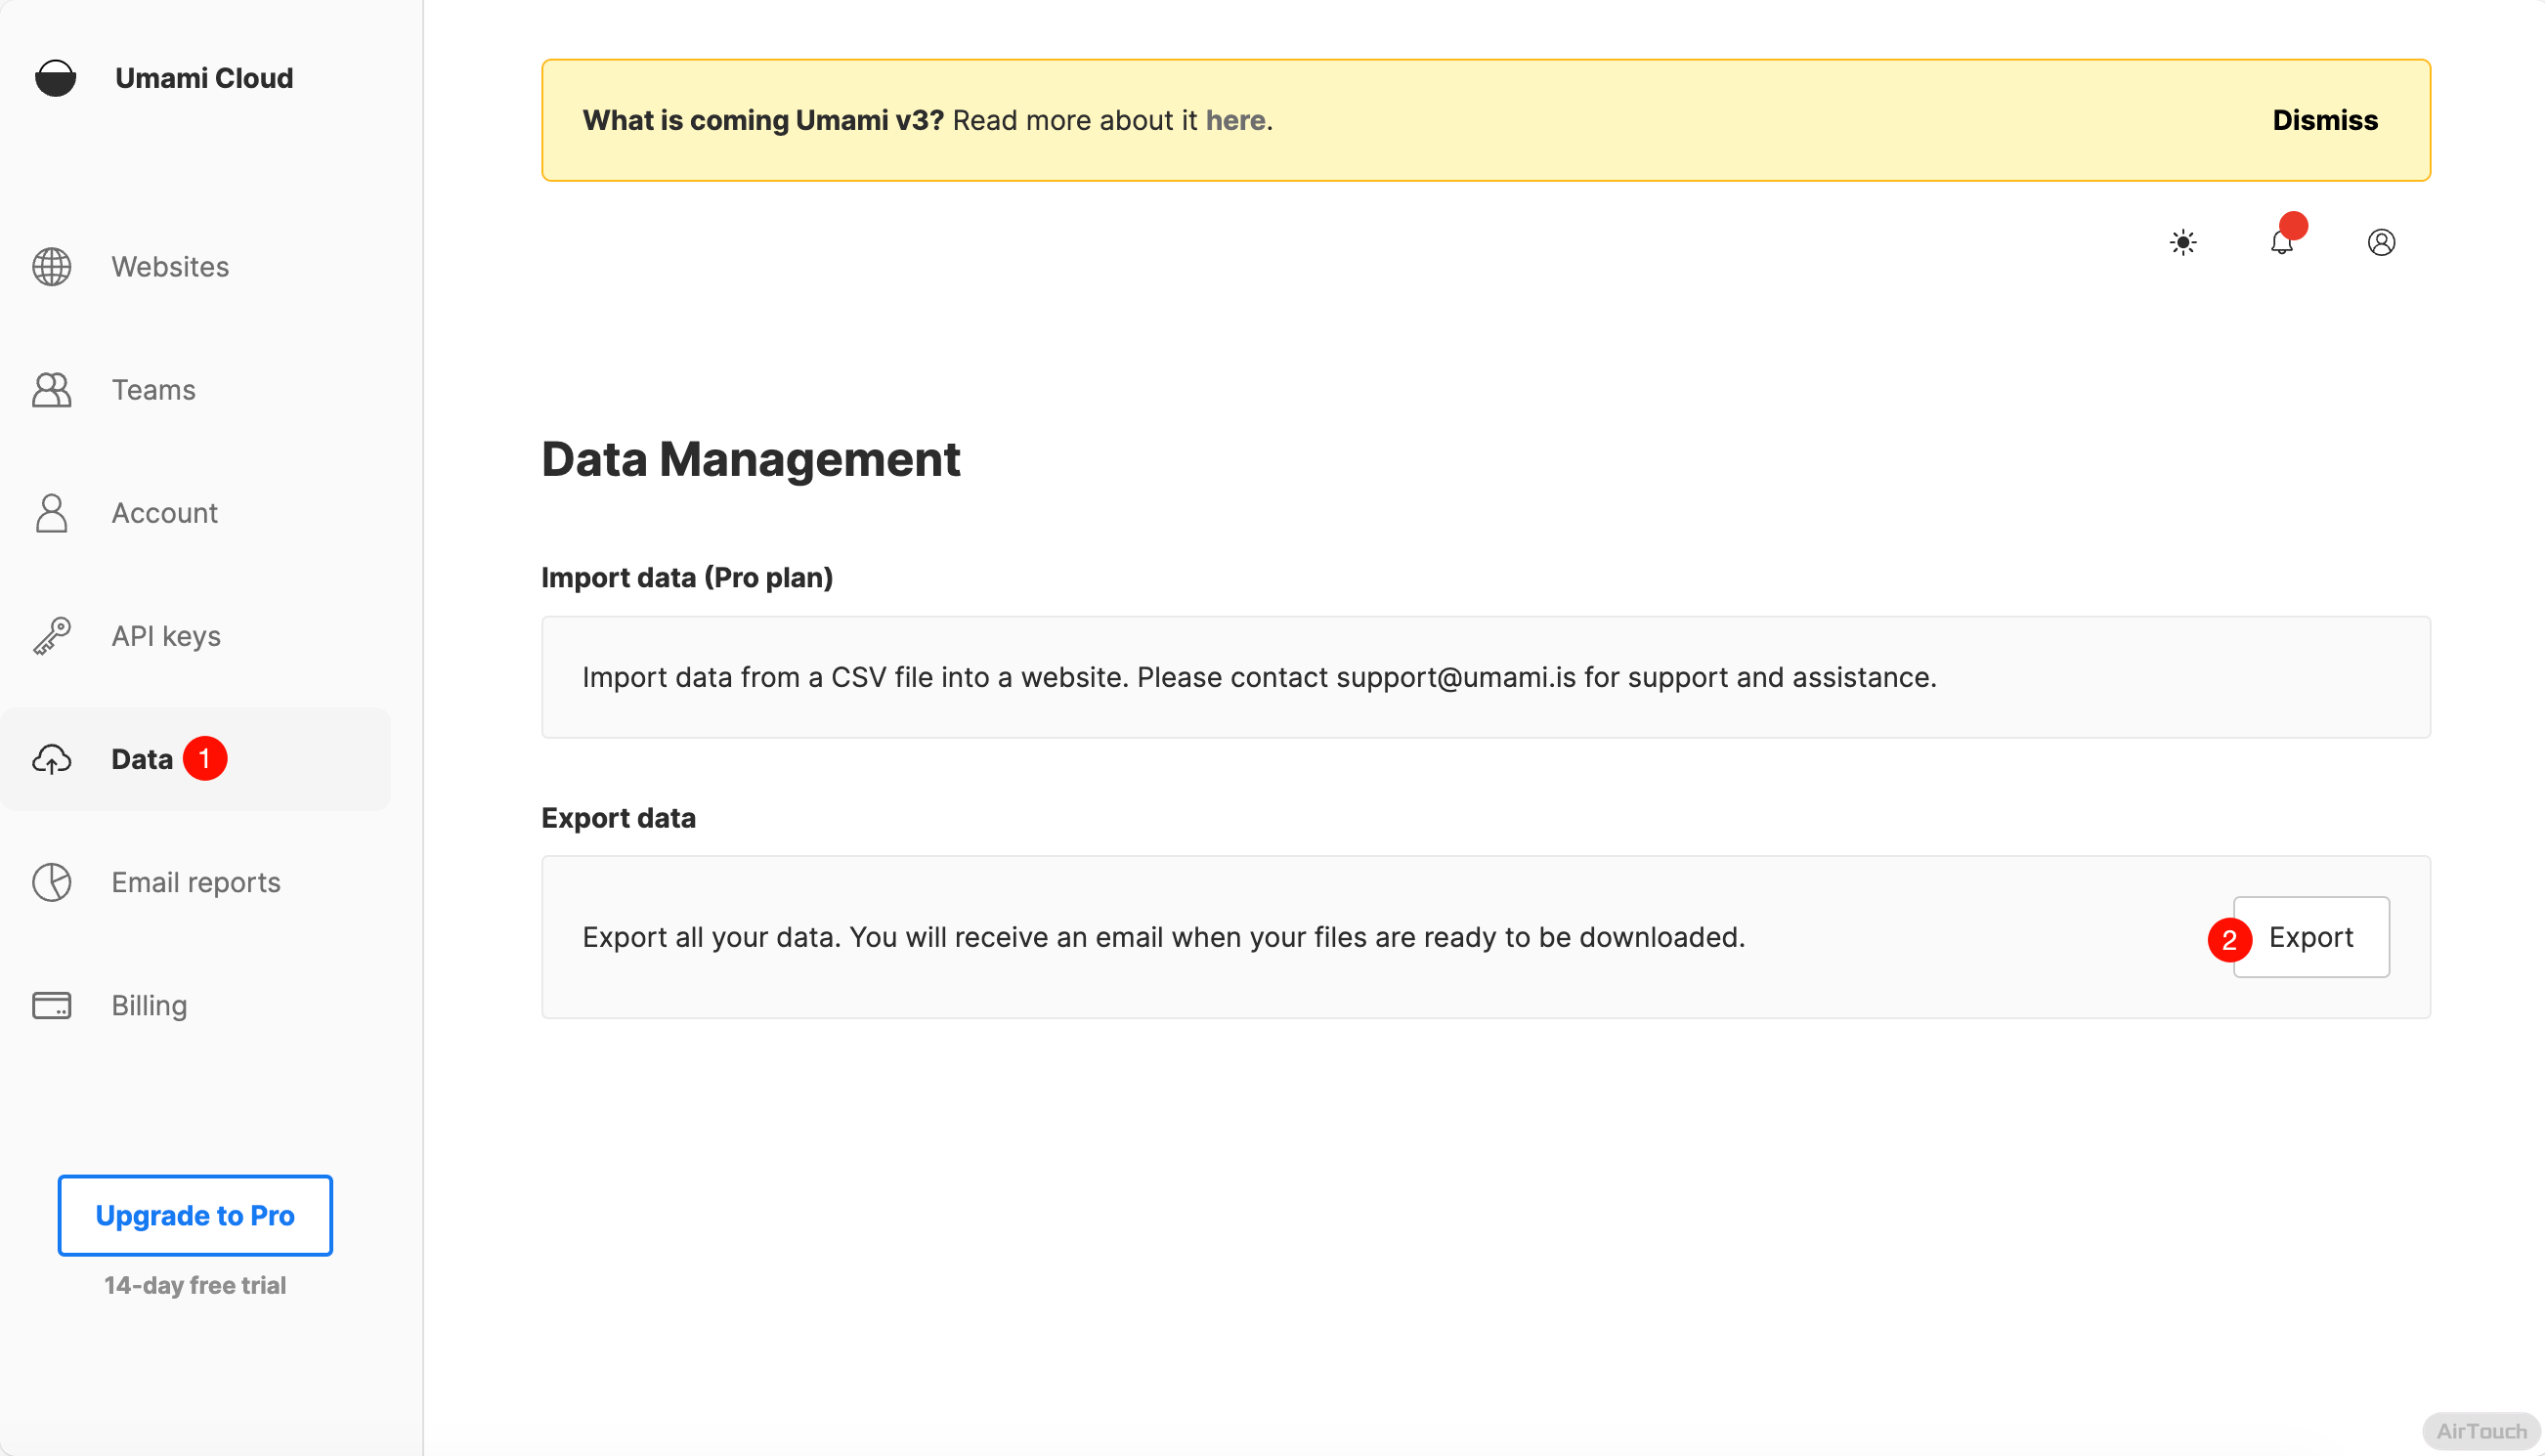
Open Umami Cloud first. In the left sidebar, find Data, then click Export on the right side and select the website you want to export.
After submitting the export request, Umami Cloud will send an email containing a download link.
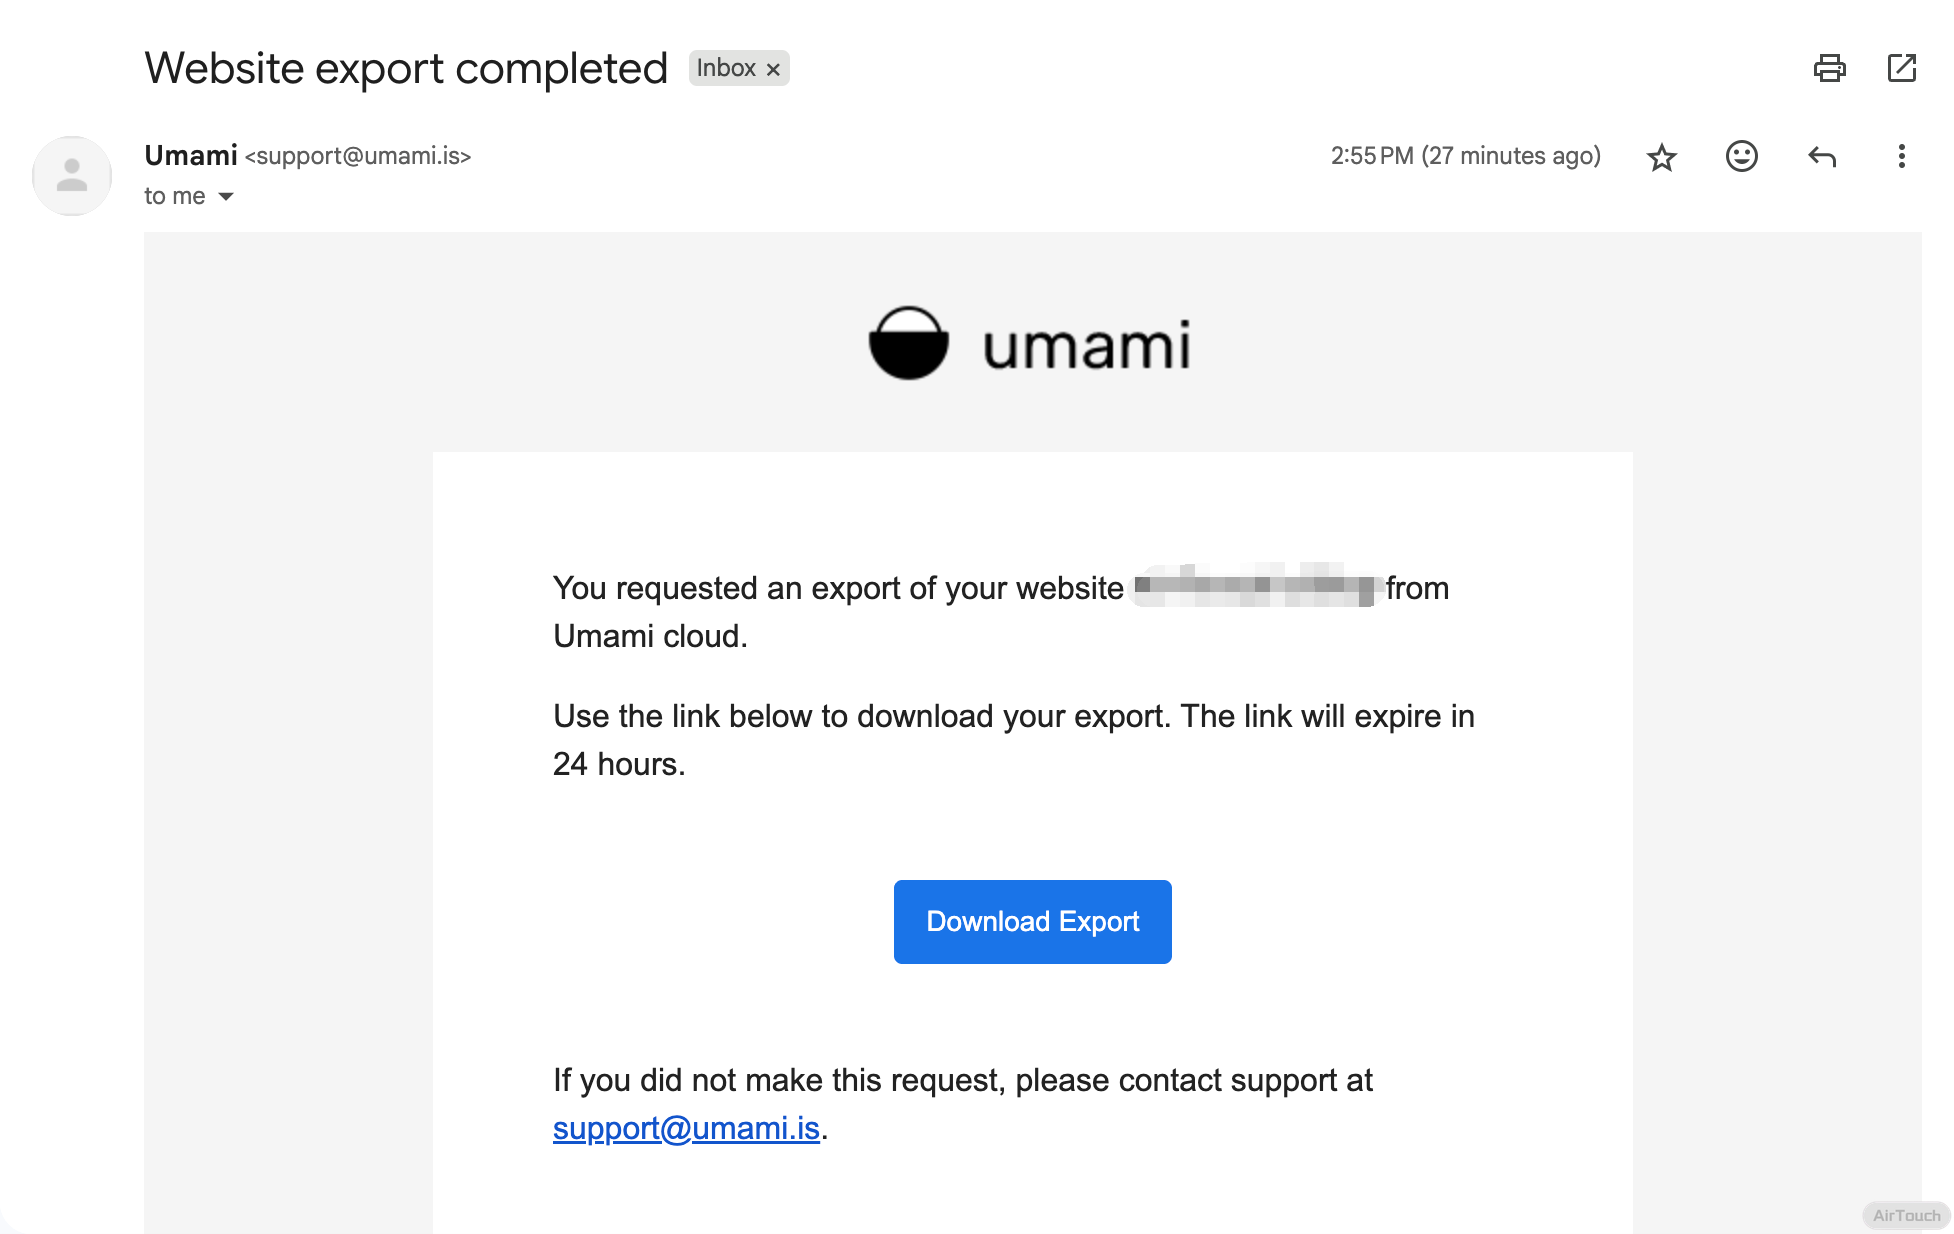
The downloaded file is normally a .csv.gz archive. Download it and extract it before continuing. If your network cannot access the download link directly, you will need to solve that part yourself.
Converting the exported CSV data
The next step uses a project by RoversX:
https://github.com/RoversX/umami-csv-import-script
Download or clone the repository, then copy the extracted CSV file into the project directory. Run the script:
`$
python umami_import.py`
The script will ask for the name of your CSV file and the new website ID.
You can find the website ID in the URL of your self-hosted Umami instance. For example, in this URL:
https://umami.haha.com/websites/73e88325-33b0-43f8-92d6-8e74c5bf19e2
The website ID is:
73e88325-33b0-43f8-92d6-8e74c5bf19e2
After the script finishes, you should get two files:
website_event.csvsession.csv
Before importing the session data, deduplicate session.csv by running the following code:
import pandas as pd

# Read the original session.csv file
df_session = pd.read_csv('session.csv')


session_columns = [
    'session_id', 'website_id', 'hostname', 'browser', 'os', 'device',
    'screen', 'language', 'country', 'subdivision1', 'subdivision2',
    'city', 'created_at'
]

# Ensure the dataframe only contains the columns defined above
df_session = df_session[session_columns]

# Remove duplicate rows with the same 'session_id'
df_session_nodup = df_session.drop_duplicates('session_id')

# Save the deduplicated data to a new CSV file
df_session_nodup.to_csv('session_export_no_duplicates.csv', index=False)

print("session_no_duplicates.csv has been successfully generated with no duplicate session_id.")
This will generate a new file named session_export_no_duplicates.csv.
Importing the data into PostgreSQL
Now open your database management tool and connect to the PostgreSQL database used by your self-hosted Umami instance.
Import website_event.csv into the website-event table.
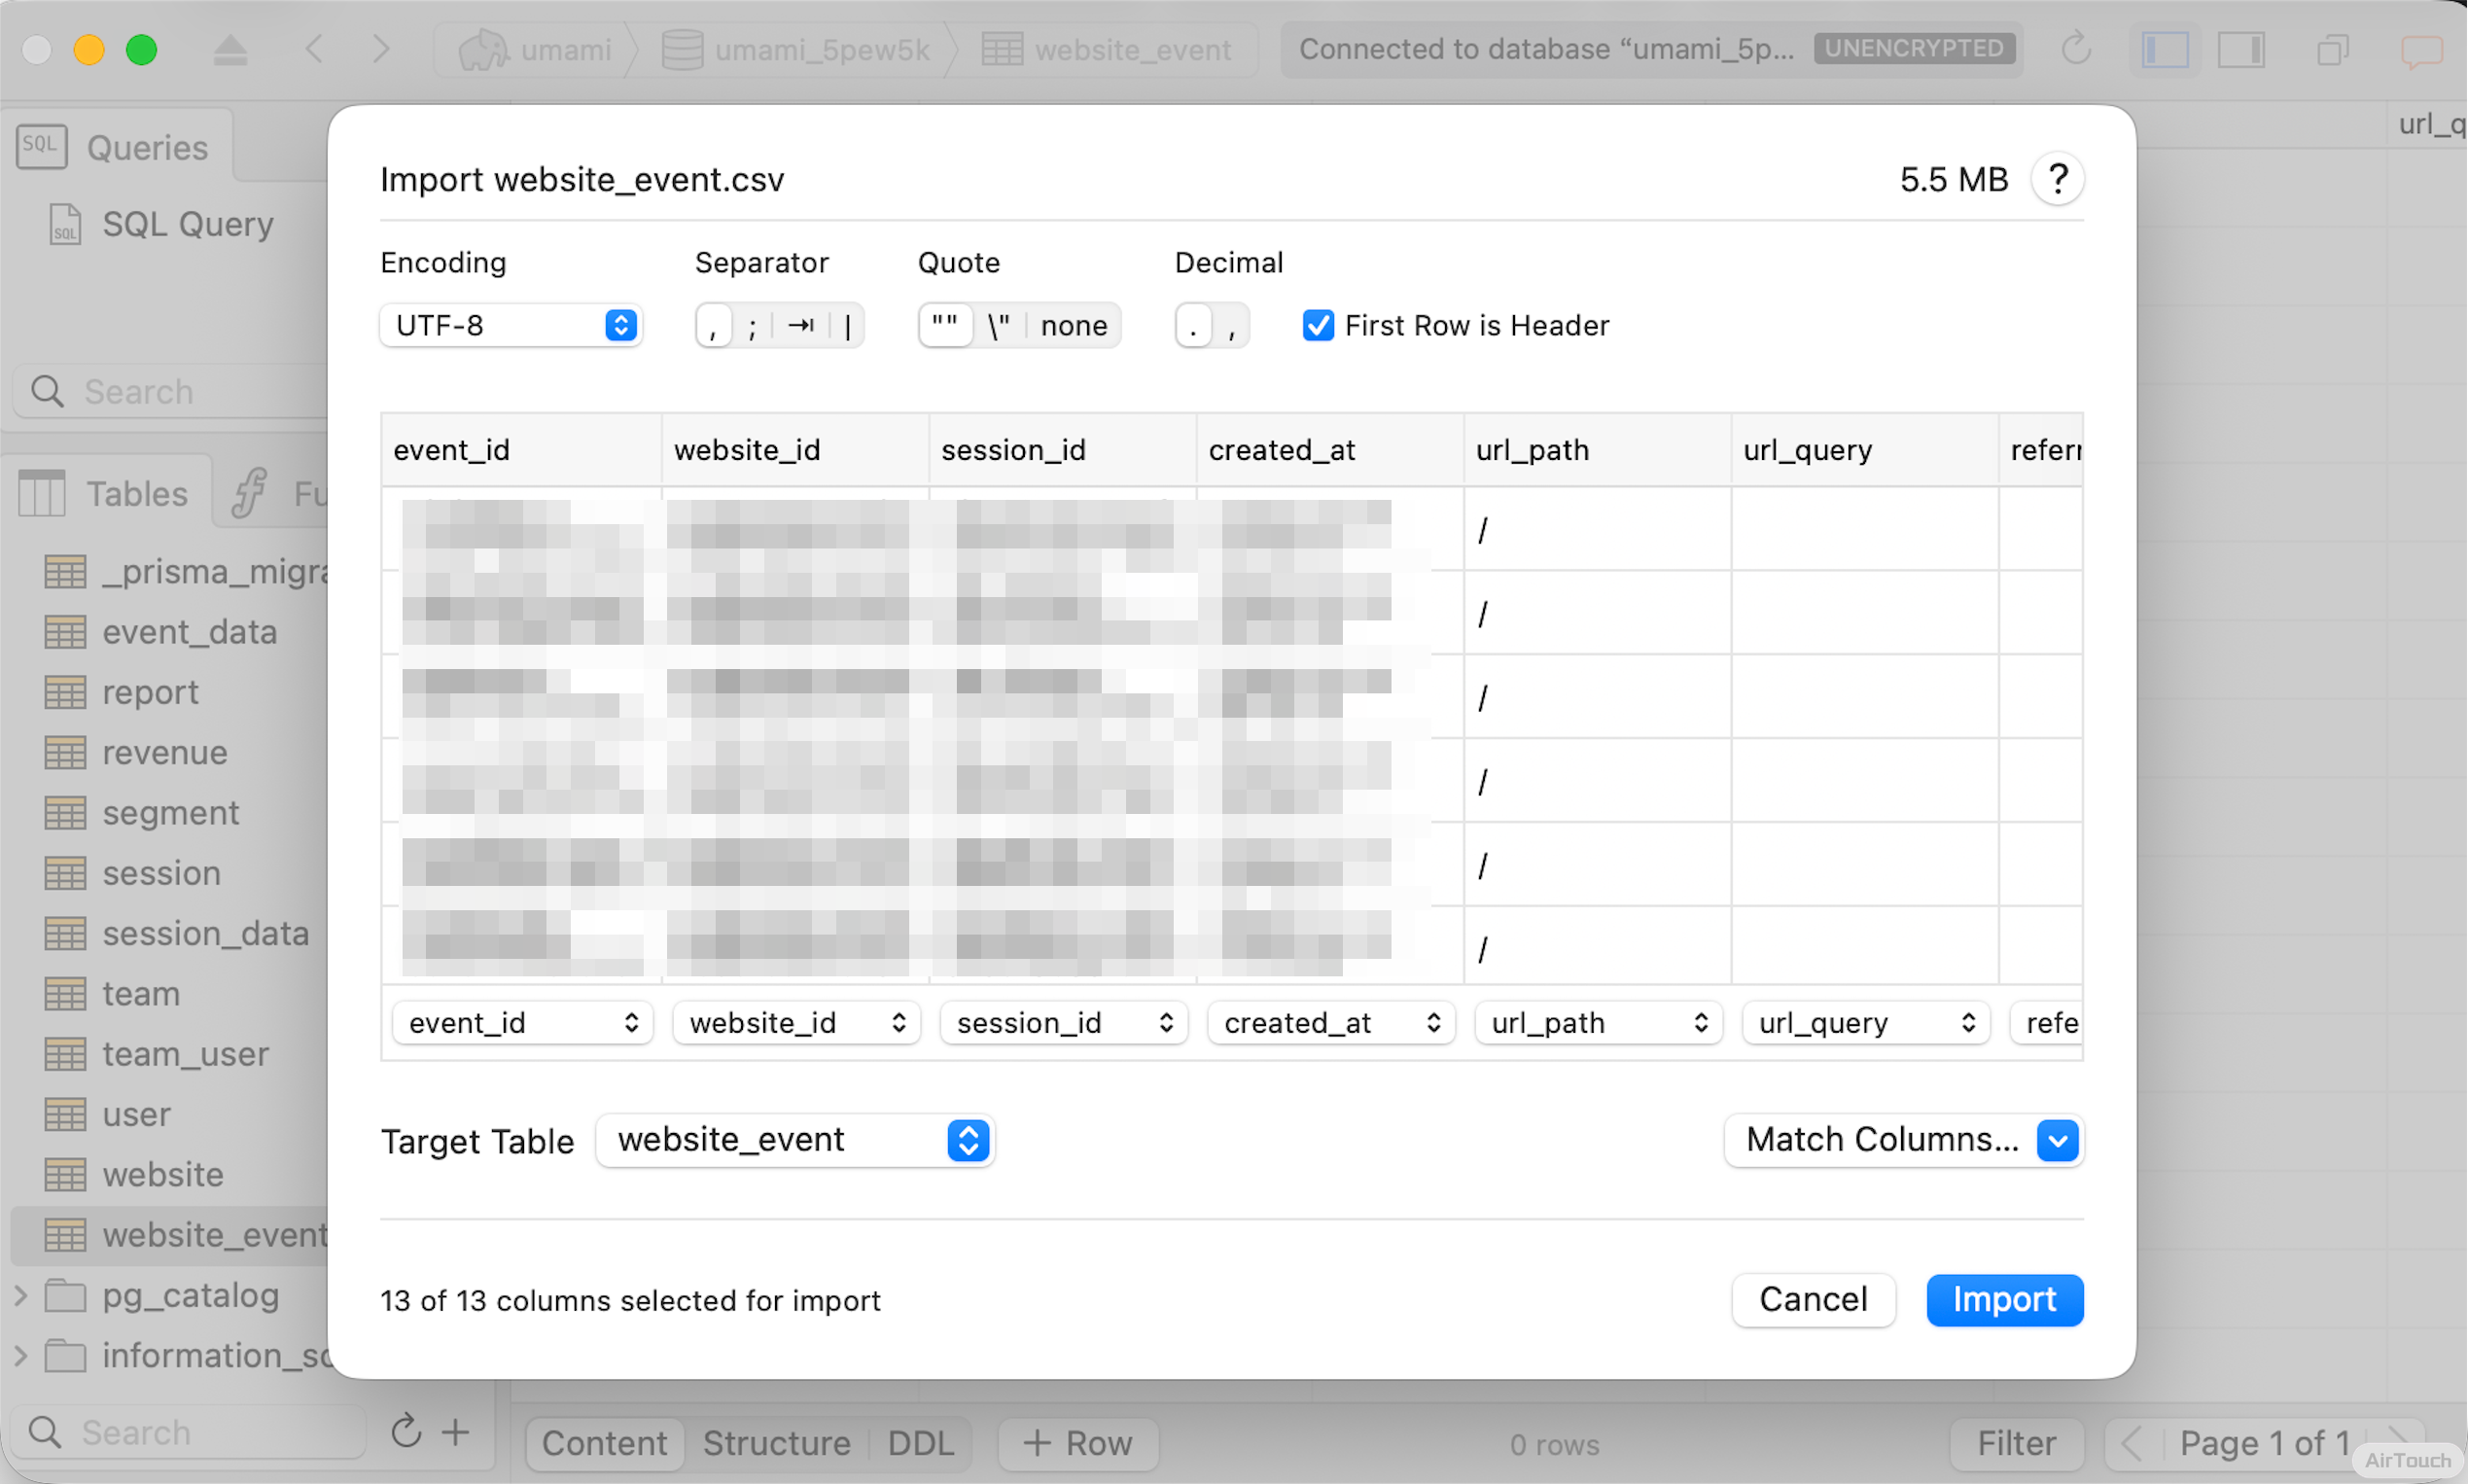
Then import the session data into the session table using the same method. Be careful here: import the deduplicated file, session_export_no_duplicates.csv, not the original session.csv.
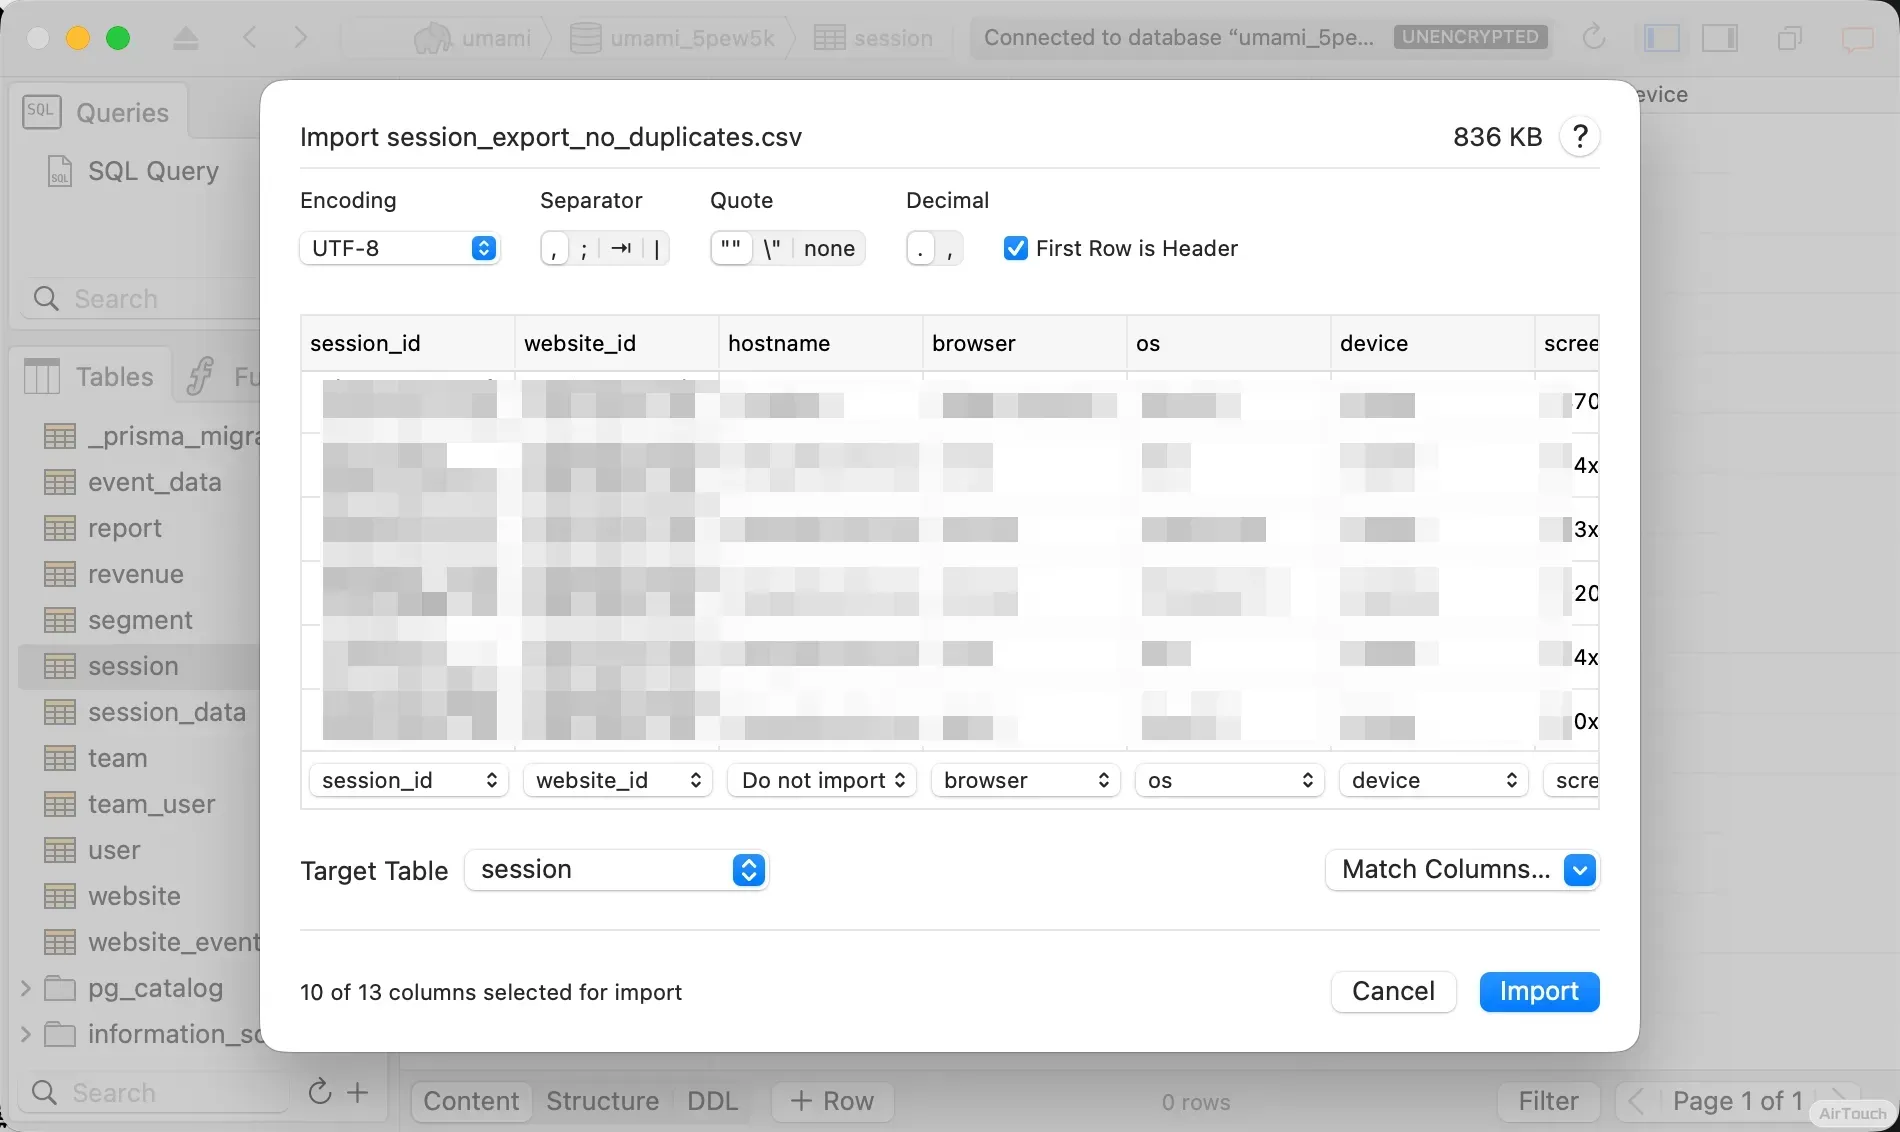
After the import finishes, refresh your Umami page. The migrated analytics data should now appear in your self-hosted instance.