More and more people are setting up their own sites, and plenty of first-time site owners have joined in. They buy a server and then realize they are not sure what to do with it. Shared hosting is usually the gentler route: upload the source files, fill in a few details, and you are mostly there. A Windows server is not too bad either if you install something like PhpStudy. Linux servers are where a lot of beginners freeze: Wait, it is a command line? I do not know how to configure this.
This walkthrough sticks to installing WordPress. Server configuration is a separate job; for now, it assumes you are on shared hosting or a server where the web service is already configured.
First, download WordPress from the official WordPress site. Click Get WordPress, then Download. The download itself is simple enough that a screenshot is not really needed.
Upload and unpack
Upload the archive and extract it into the server's web service directory.
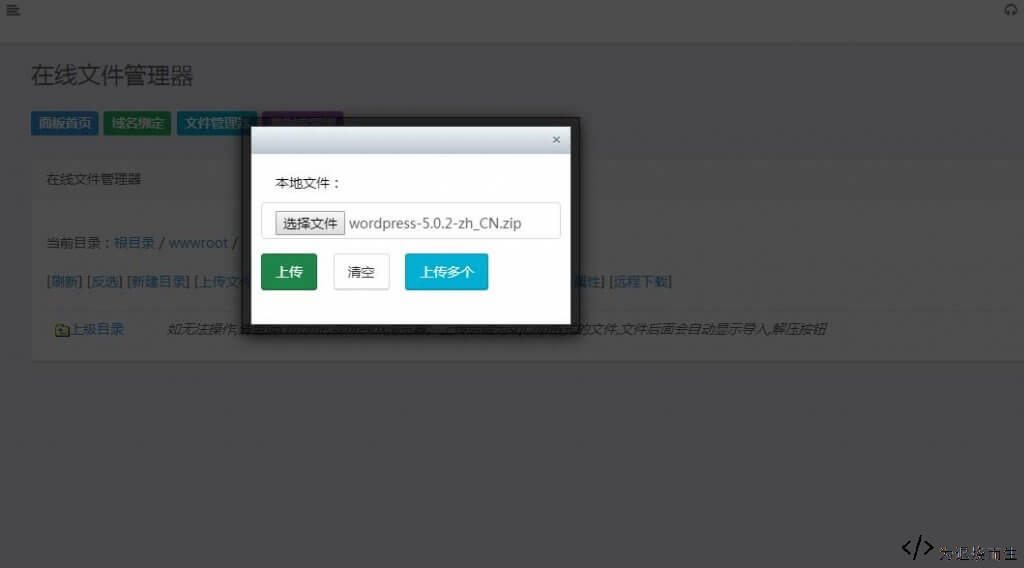
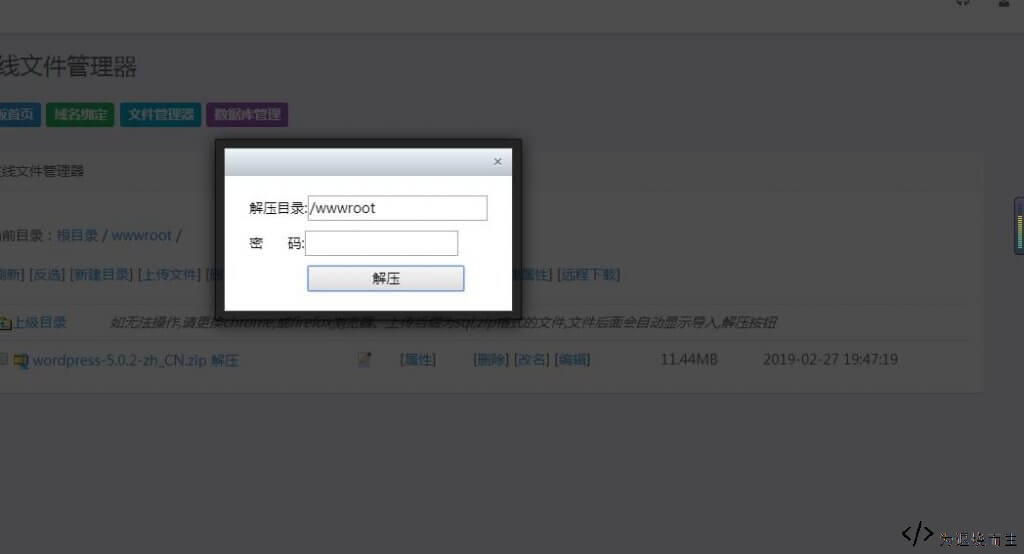
Unzip the file, then copy everything inside the wordpress folder into the wwwroot directory. Some cloud servers may use /WEB instead, so check what your host has set up.
Database, domain, and installer
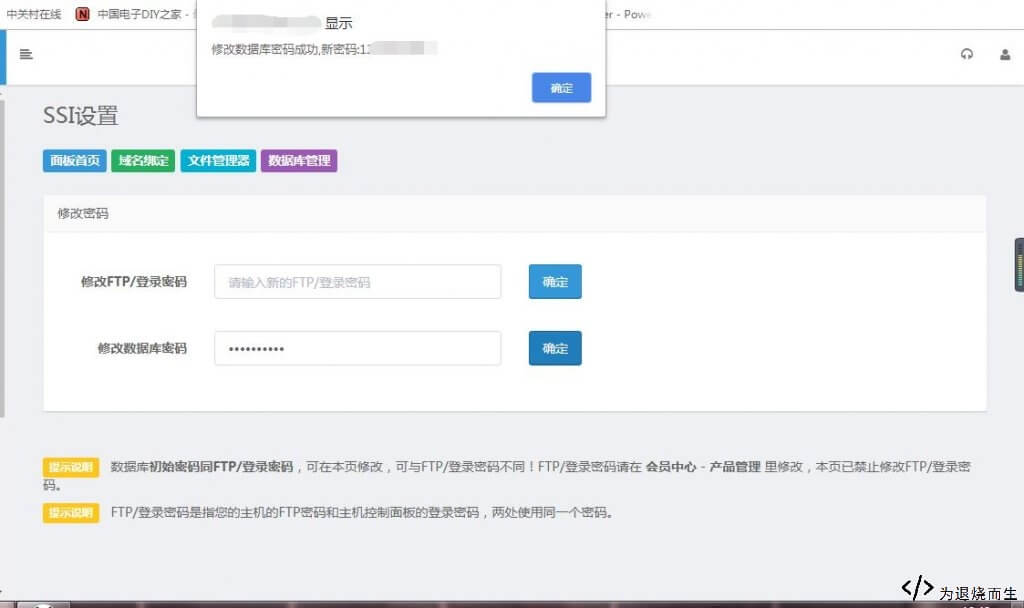
Reset the database password, or keep the existing one if you prefer.
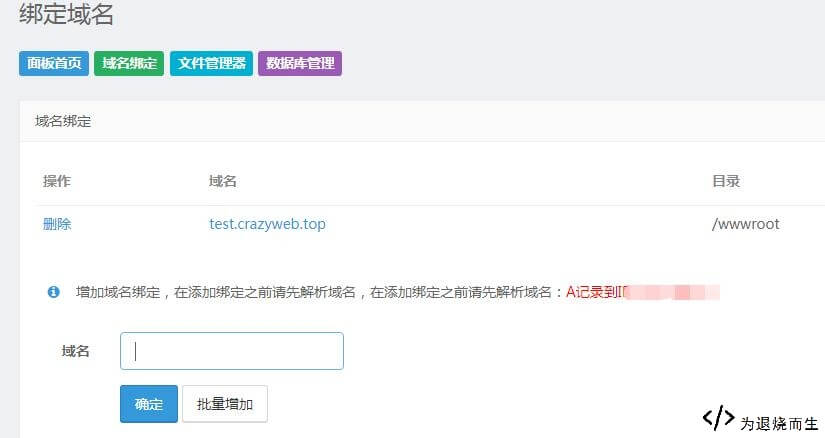
Bind the domain.
Now open the site. If the WordPress installer shows up, you are more than halfway there.
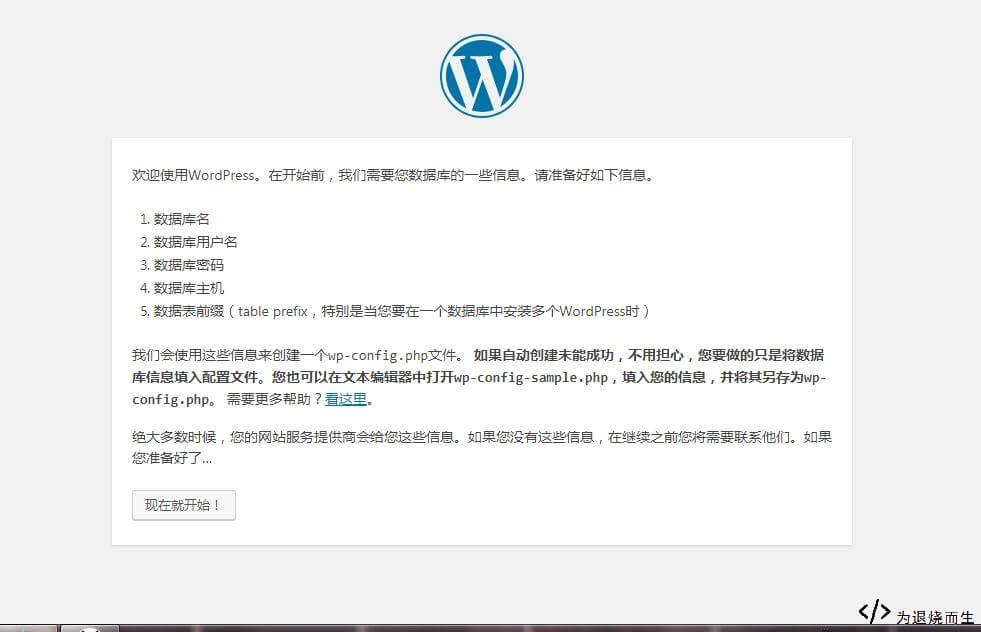
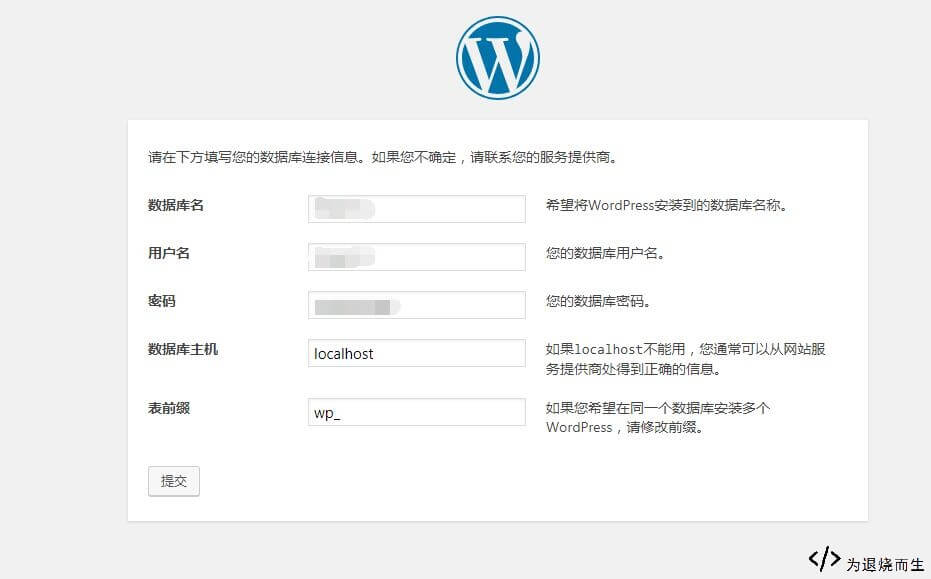
Fill in the database details.
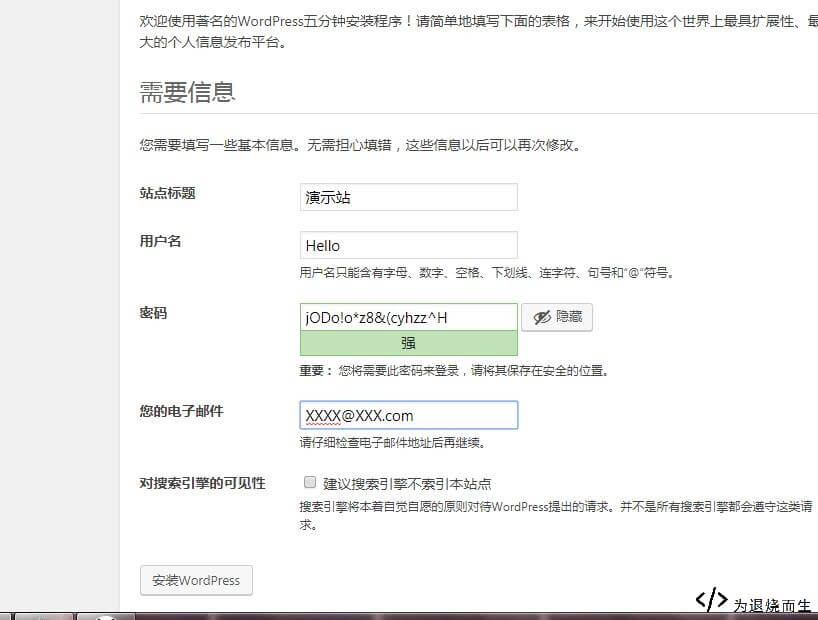
Once the database connection succeeds, set up the site information.
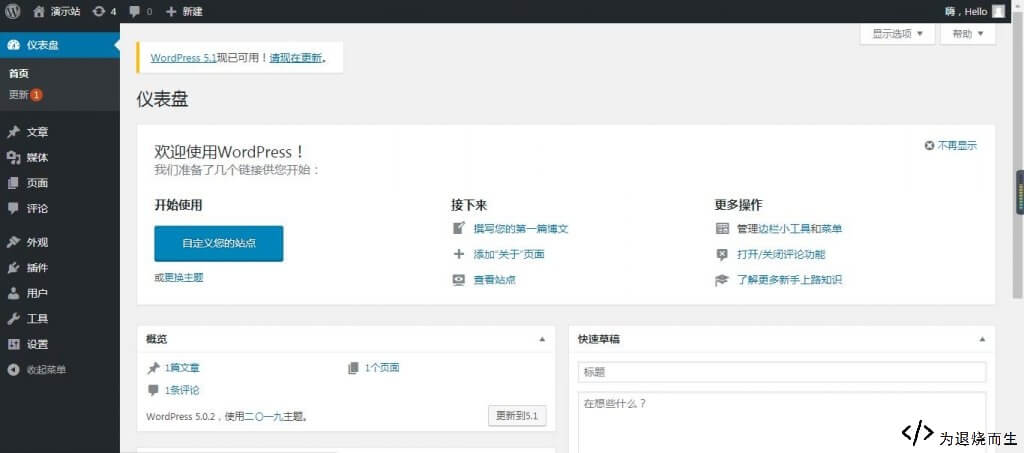
Finally, you can log in to the WordPress dashboard.
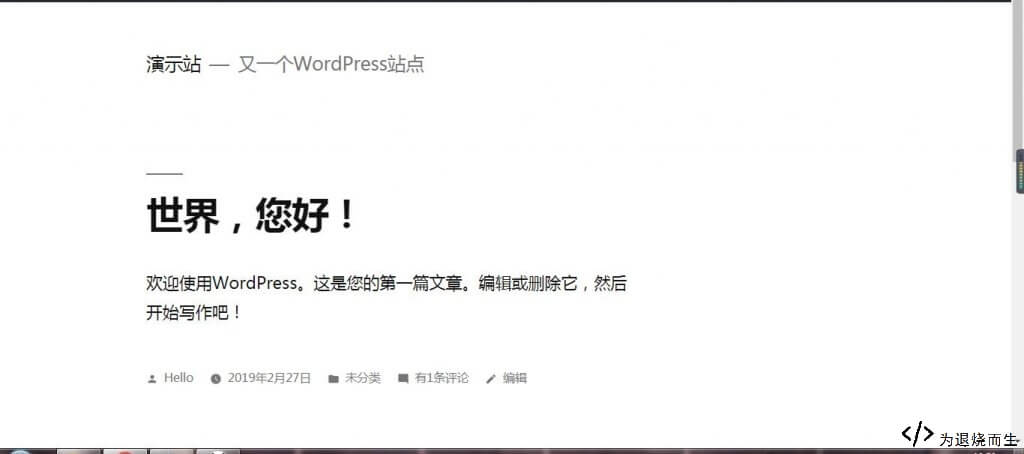
On the front end, try out a different theme. There is plenty more in WordPress to explore.