Before anything else: this is extremely power-hungry. If you plan to keep the server running for long periods, it’s best to put the phone into bypass charging mode, or go further with a hardware mod by removing the battery, spoofing the battery protection board into thinking the battery is full, and powering the motherboard directly.
If that kind of modification is beyond what you want to do, at least enable the phone’s battery protection feature to reduce the chance of destroying the battery. Another option is to have a repair shop handle the modification properly.
Why do this at all?
The idea started with a simple wish: it would be nice if a phone could host a Minecraft server. So it was tested directly.
The device used here was a Huawei P30, which has a reputation for aggressive background app killing.
Getting ZeroTermux ready
First, install ZeroTermux using these two packages:
https://static-cos.ovofish.com/App/%20ZeroTermux/ZeroTermux-0.118.36.2.apk
https://static-cos.ovofish.com/App/%20ZeroTermux/ZeroTermux-Engine-0.1.20221116.apk
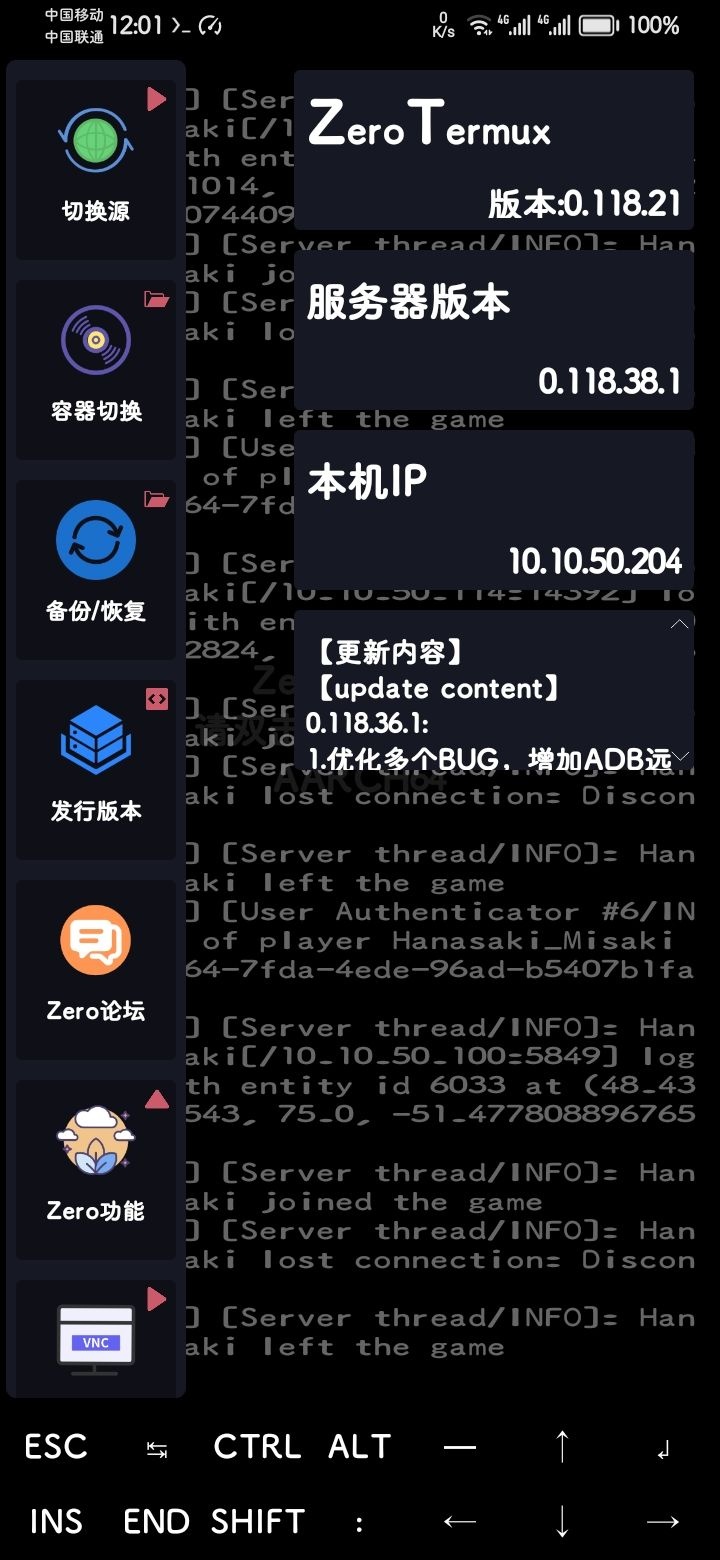
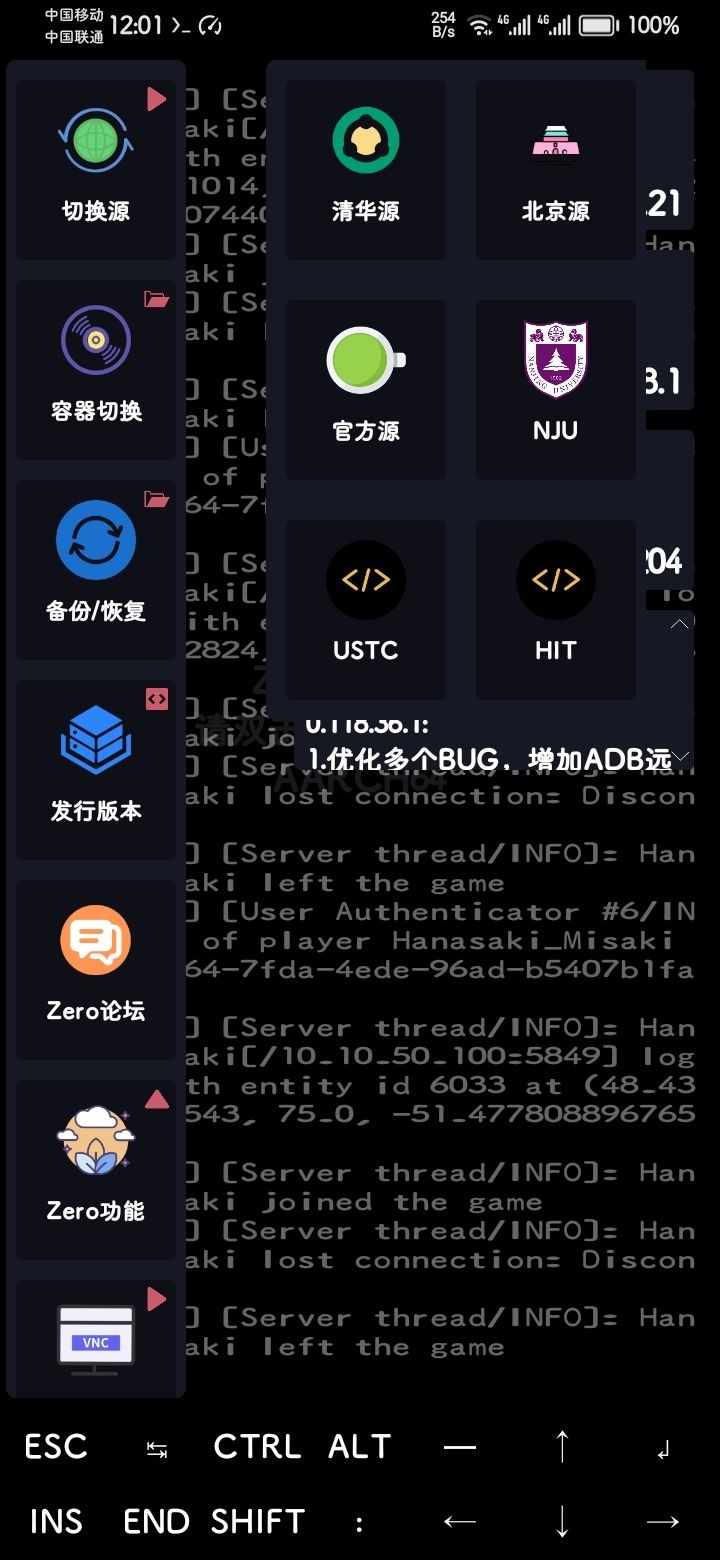
After launching it, swipe from left to right to find the mirror source settings.
Use the Tsinghua mirror.
During setup, you’ll be prompted to confirm with y. Just enter y the whole way through.
Setting up SSH access
Install the SSH service:
<table> <thead> <tr> <th>1</th>
<th>pkg install openssh</th>
</tr>
</thead>
<tbody>
<tr>
<td></td>
<td></td>
</tr>
</tbody>
</table>
Check your username:
<table> <thead> <tr> <th>1</th>
<th>whoami</th>
</tr>
</thead>
<tbody>
<tr>
<td></td>
<td></td>
</tr>
</tbody>
</table>
Set a password:
<table> <thead> <tr> <th>1</th>
<th>passwd</th>
</tr>
</thead>
<tbody>
<tr>
<td></td>
<td></td>
</tr>
</tbody>
</table>
Start SSH:
<table> <thead> <tr> <th>1</th>
<th>sshd</th>
</tr>
</thead>
<tbody>
<tr>
<td></td>
<td></td>
</tr>
</tbody>
</table>
Add it to startup:
<table> <thead> <tr> <th>1</th>
<th>echo "sshd" >> ~/.bashrc</th>
</tr>
</thead>
<tbody>
<tr>
<td></td>
<td></td>
</tr>
</tbody>
</table>
Check the phone’s IP address:
<table> <thead> <tr> <th>1</th>
<th>ifconfig</th>
</tr>
</thead>
<tbody>
<tr>
<td></td>
<td></td>
</tr>
</tbody>
</table>
Then connect from a PC through Command Prompt:
<table> <thead> <tr> <th>1</th>
<th>ssh 用户名@手机的ip -p 8022</th>
</tr>
</thead>
<tbody>
<tr>
<td></td>
<td></td>
</tr>
</tbody>
</table>
Installing the Java environment
If you’re running a newer Minecraft server version, install JDK 17:
<table> <thead> <tr> <th>1</th>
<th>pkg install openjdk-17</th>
</tr>
</thead>
<tbody>
<tr>
<td></td>
<td></td>
</tr>
</tbody>
</table>
Again, if confirmation is requested during installation, just keep entering y.
Starting the Minecraft server
Download a Minecraft server core file named:
server.jar
Open it with MT Manager. In /storage/emulated/0/, create a new folder called Minecraft, then place server.jar inside it.
Go back to ZeroTermux and switch into that directory:
cd /storage/emulated/0/Minecraft
Start the server with:
java -Xmx1024M -Xms1024M -Xss768K -server -jar server.jar nogui
After the first run, use MT Manager to edit the license file and change it to true.
Then return to ZeroTermux and run the server again:
java -Xmx1024M -Xms1024M -Xss768K -server -jar server.jar nogui
At that point, the server should start normally.
Keeping it alive in the background
On the Huawei P30 used for this test, background survival required enabling developer mode and keeping the phone plugged in while running.
The app also needed several manual power-management changes.
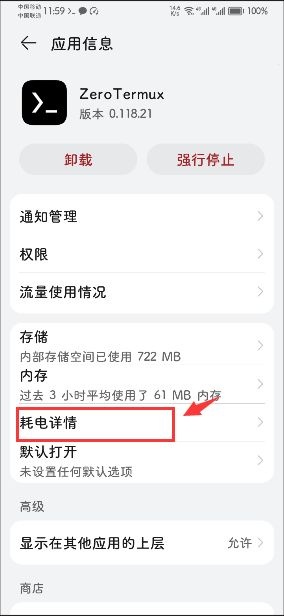
Long-press the app icon to open the app settings page.
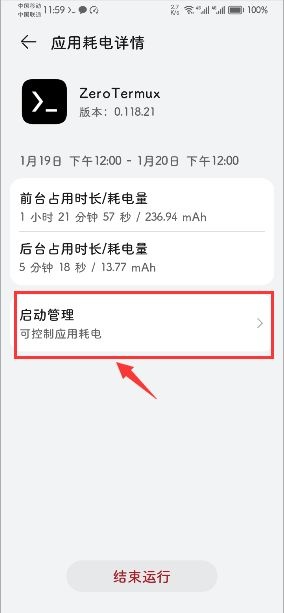
Open the battery usage details.
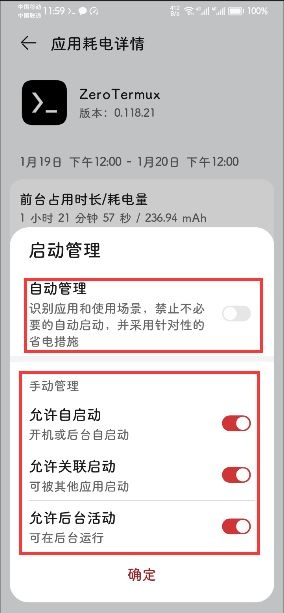
Tap launch management.
Turn off automatic management, then enable all three manual management options.
Then go back to the app info page and open permissions. Enable background pop-up and floating window permissions. Return once more to the app info page and allow it to display over other apps.
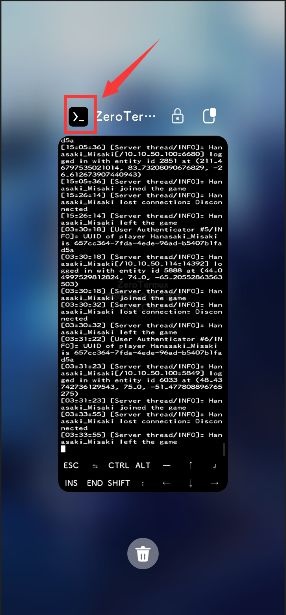
After that, switch back into ZeroTermux, lock the screen, and test how well it survives in the background.