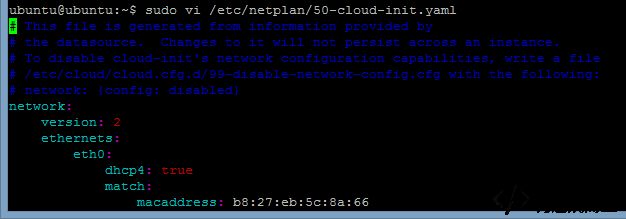
After logging into Ubuntu, open the Netplan configuration file:
sudo vi /etc/netplan/50-cloud-init.yaml

Here is one working network configuration example for reference:
network: version: 2 ethernets: eth0: dhcp4: false addresses: [192.168.0.2/24] gateway4: 192.168.0.1 match: macaddress: b8:27:eb:5c:8a:66 set-name: eth0 optional: no nameservers: addresses: [114.114.114.114]
A more standard reference format looks like this:
network: version: 2 renderer: networkd ethernets: ens33: #配置的网卡名称 可以使用ifconfig -a查看本机的网卡 dhcp4: no #dhcp4 no关闭,yes 打开 dhcp6: no #dhcp6 no关闭,yes 打开 addresses: [192.168.1.142/24] #设置本机IP及掩码 gateway4: 192.168.1.1 #设置网关 nameservers: addresses: [114.114.114.114, 8.8.8.8] #设置DNS
In this configuration:
ens33is the network interface name. You can check your actual interface name withifconfig -a.dhcp4: nodisables IPv4 DHCP, andyesenables it.dhcp6: nodisables IPv6 DHCP, andyesenables it.addressessets the local IP address and subnet mask.gateway4sets the default gateway.nameserversdefines the DNS servers.

Once you finish editing the file, apply the changes with:
sudo netplan apply
If an error appears, check the message and fix the configuration accordingly.
After that, reconnect over SSH using the new IP address.