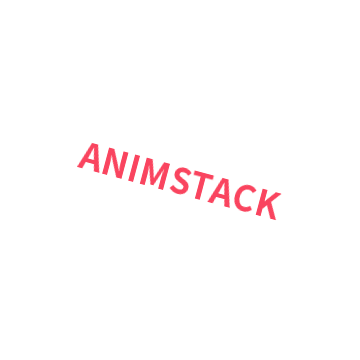
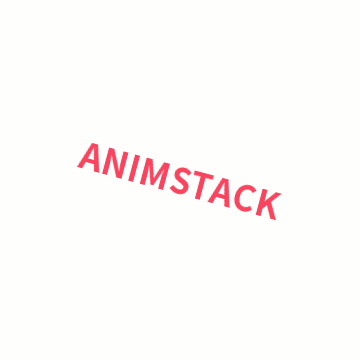
AnimStack’s rotate tag can be used to create a full rotation animation very quickly. In this example, each frame turns by 15 degrees, so a complete 360-degree loop needs 24 frames in total (15*24=360). Here is the finished result:
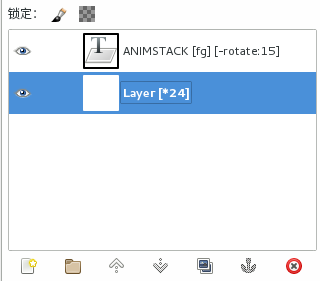
Start by generating 24 layers with [*24], then create the text layers with changing angles using [fg] [-rotate:15]:
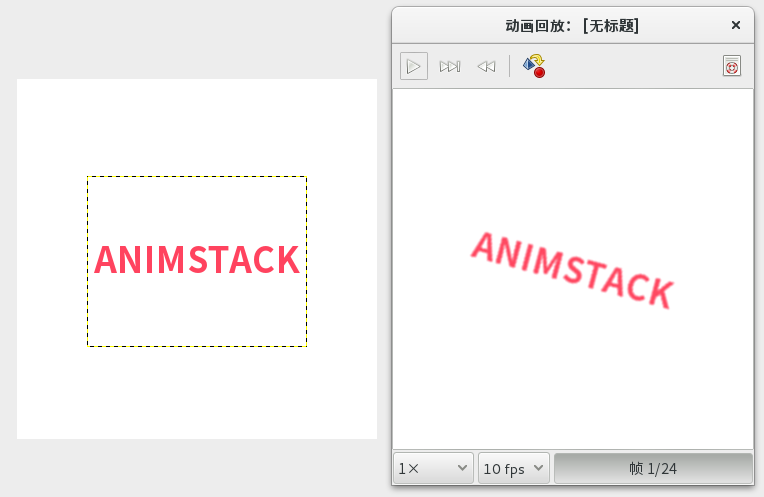
If you use [fg] [-rotate:-15], the rotation will go clockwise. Run the script and the GIF is generated. At that point, you can preview it through Filters - Animation - Playback.

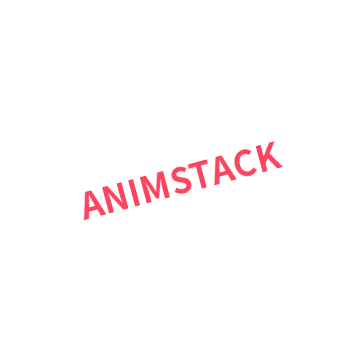
The animation works, but the image quality is poor and noticeably blurry:
The reason is that this rotation method is cumulative. The frame at 30 degrees is not created from the original artwork—it is created by rotating the 15-degree frame by another 15 degrees. Every new rotation loses a little precision, so by the end the image becomes badly degraded. The difference between rotating once and rotating 23 times is easy to see:

To avoid that quality loss, switch to the plugin’s non-cumulative mode.
Change the tags to:
[angle=inc:-15] [.fg] [-rotate:angle]
This defines an angle variable, increases it by 15 degrees each time through inc, and uses angle as the value for rotate. The key detail is the . before fg, which enables non-cumulative mode.
After running the plugin again, the result is already better than before:
There is still another issue to fix. Set the background to transparent by right-clicking the background layer, choosing Alpha to Selection, and then pressing the DEL key.
Run the plugin once more and export the GIF:

That looks wrong.
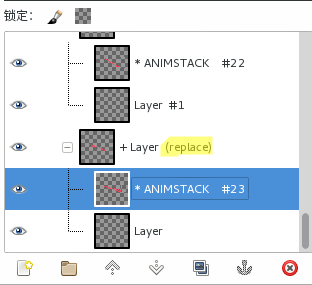
By default, frame disposal uses combine mode. The other option is replace mode.
The version used here is AnimStack 0.6. In version 0.3, a tag was added that lets you choose between combine and replace. That option did not exist in version 0.2, where timing worked more like the old delay setting.
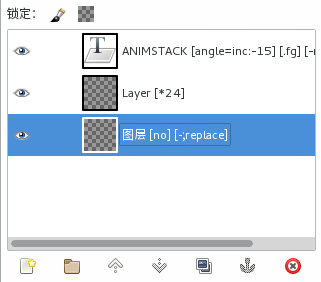
With that tag, replace can be added to the layers in bulk:
Export the GIF again and the result is much more usable:

Both GIFs above actually use transparent backgrounds. That may not be obvious when viewed in a web page, but if you download and open them locally, the transparency appears as expected:
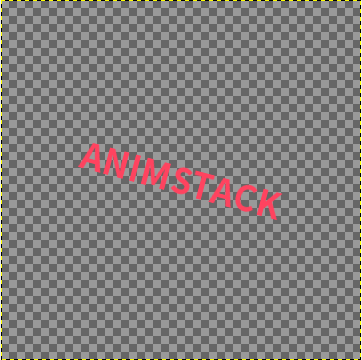
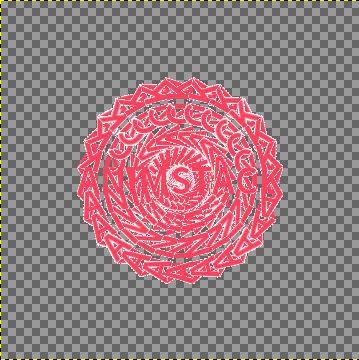
If you look closely, the text becomes much rougher after removing the white background and switching to transparency.
That limitation comes from the GIF format itself. GIF does not support partial transparency, so each pixel in a layer is either transparent or opaque.
There is still one more improvement available. Since GIFs are often shown on white web backgrounds anyway, keeping white as the background and using the matte tag can make the edges look cleaner.
Based on the previous setup, use Image - flatten layer groups to merge the layer groups. Then create a new layer at the bottom, fill it with white, and add the [matte] tag. The matte tag does have a few parameters, but the default setting is usually the best choice.
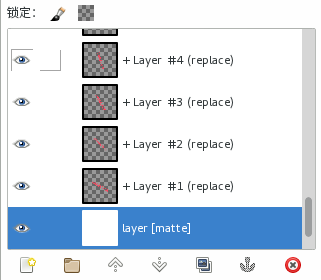
Run the plugin:
What matte does at the start is wrap the text in a white edge. In GIMP’s preview, that white edge can still look jagged, but on a web page it blends into the page background if the background is also white, making the jaggedness much less noticeable. That is exactly what the matte step is for.
Export the GIF and compare the results. On the left is the version improved with non-cumulative mode; on the right is the version improved further with the matte tag:
That covers rotation.